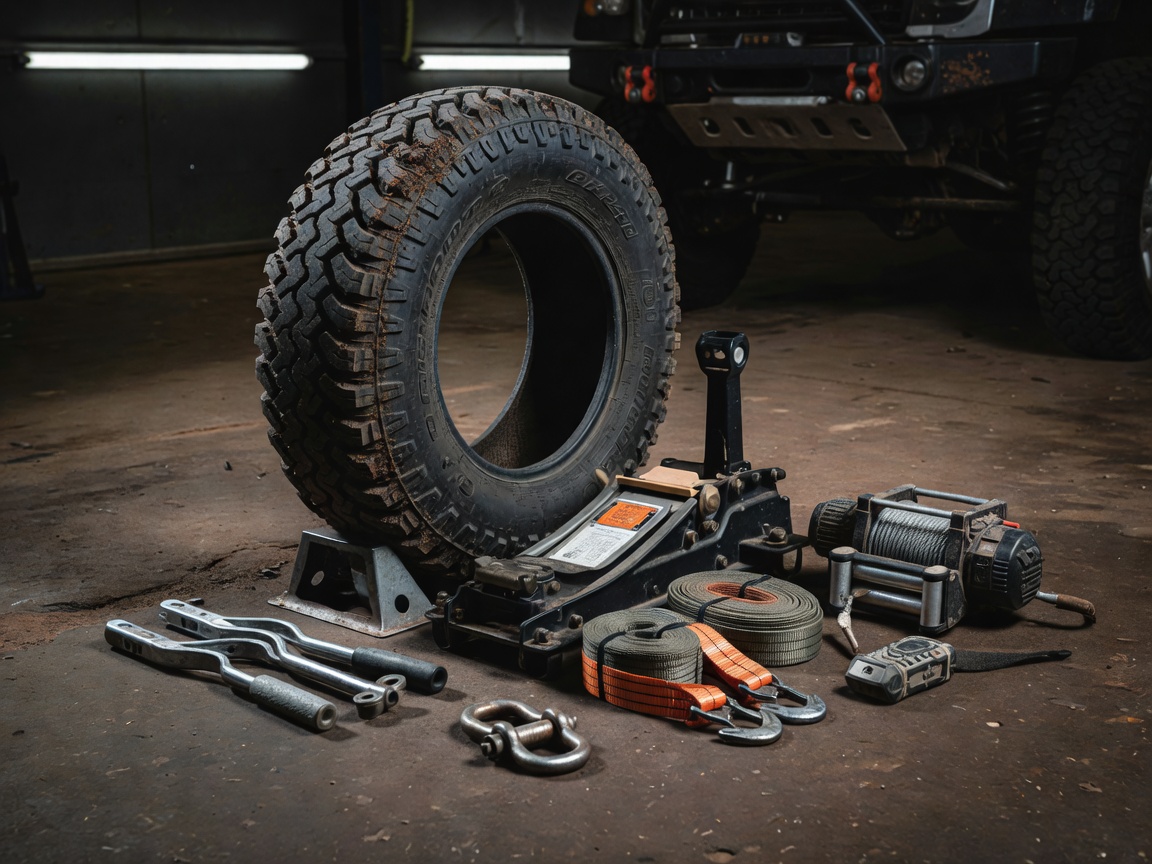
Preparation begins with the vehicle handbook, service history and the demands of the route. No universal pressure, payload or recovery setup fits every vehicle. Use manufacturer guidance and equipment instructions. Where a check requires specialist skill, arrange qualified support before departure rather than learning under pressure on a remote track.
01 / TYRES & SPARE
Start with the only contact points.
Inspect each tyre for cuts, bulges, embedded objects, uneven wear and age-related damage. Confirm the load and speed rating suit the vehicle. Check the spare wheel, jack and wheel tools as a complete system; a spare that cannot be safely fitted is not a useful contingency.
Tyre pressure decisions depend on tyre construction, vehicle load, surface, speed and manufacturer limits. Follow the vehicle and tyre maker’s recommendations. Any adjustment for changing terrain requires informed judgement, a reliable gauge and a safe way to reinflate before higher-speed driving. Do not copy a number from another vehicle or a generic checklist.
02 / CLEARANCE & UNDERBODY
Know what can contact the ground.
Understand the vehicle’s ground clearance and vulnerable components. Added accessories, load and suspension changes can alter clearance, approach angles and handling. Underbody protection may reduce exposure to impact, but it does not make a vehicle immune to damage or justify driving over obstacles beyond its capability.
Check that guards and accessories are secure. Consider whether equipment hangs below the vehicle or catches on branches. A route with uneven rock, ruts or drainage channels may require careful line choice and a spotter in a safe position. If the obstacle is uncertain or the route is restricted, stop and reassess.
03 / FLUIDS, COOLING & BATTERY
Look for faults before adding gear.
Check visible fluid levels and signs of leaks in line with the owner’s manual. Inspect hoses and belts only where the procedure is familiar and safe. A sustained climb can place additional demand on the cooling system. Confirm there are no warning lights, overheating symptoms or unresolved service issues.
Assess battery condition, terminals and charging equipment. Cold conditions and repeated starts can expose a weak battery. Secure any auxiliary power devices according to their instructions. If a fault appears, seek competent mechanical advice; do not treat a remote route as a test environment.
04 / BRAKES & LIGHTS
Descent readiness matters.
Brakes should feel and operate normally before the trip. Pay attention to noises, vibration, pulling, warning indicators or a change in pedal feel. Mountain descents can demand sustained, controlled braking. If the braking system is suspect, do not begin the route. Inspection and repair beyond routine checks belong with a qualified technician.
Test headlamps, brake lamps, indicators and hazard lights. Clean lenses and carry any lawful replacement items suitable for the vehicle. Good lighting supports visibility; it does not remove the need to stop when dust, fog, snow or darkness makes driving unsafe.
05 / RECOVERY, TOOLS & COMMUNICATION
Equipment only works when used correctly.
Choose recovery equipment rated for the vehicle and intended use. Understand the manufacturer’s instructions, inspection requirements and limits. Recovery points must be suitable and approved for the operation. A tow ball, improvised attachment or damaged strap can fail dangerously. Keep bystanders away from loaded recovery equipment.
Carry basic tools appropriate to the vehicle, a tyre gauge, inflation option, lighting and communication power. Add first aid, warm layers and other essentials based on route, group and season. Equipment does not replace training. Do not attempt a complex recovery or mechanical repair without the right knowledge, tools and safe conditions.
06 / LOAD & TOWING
Keep weight controlled and secured.
Check the vehicle’s permitted payload, axle limits, roof load and towing limits in the manufacturer documentation. Include passengers, accessories, water, tools and recovery gear in the overall load. Heavy items placed high can affect stability and handling. Secure every item so it cannot shift during braking or on uneven ground.
Confirm trailer connections, lights, tyres and load distribution where towing is permitted and appropriate. A trailer changes turning, braking and recovery demands. Do not assume every mountain road or restricted route is suitable for a towed vehicle.
GOOD FOR
Good for building a pre-trip inspection routine.
Routine preparation covers visual checks, service status, equipment condition and load security. Specialist mechanical work includes repairs or adjustments that require proper training, tools or vehicle-specific procedures.
What to check
- Tyre condition, spare, jack and wheel tools.
- Clearance, underbody security and accessories.
- Fluids, battery, cooling system and warning lights.
- Brakes, lights, recovery ratings and user competence.
- Payload, towing limits and secure load distribution.
- Vehicle-specific guidance before any pressure or setup change.